
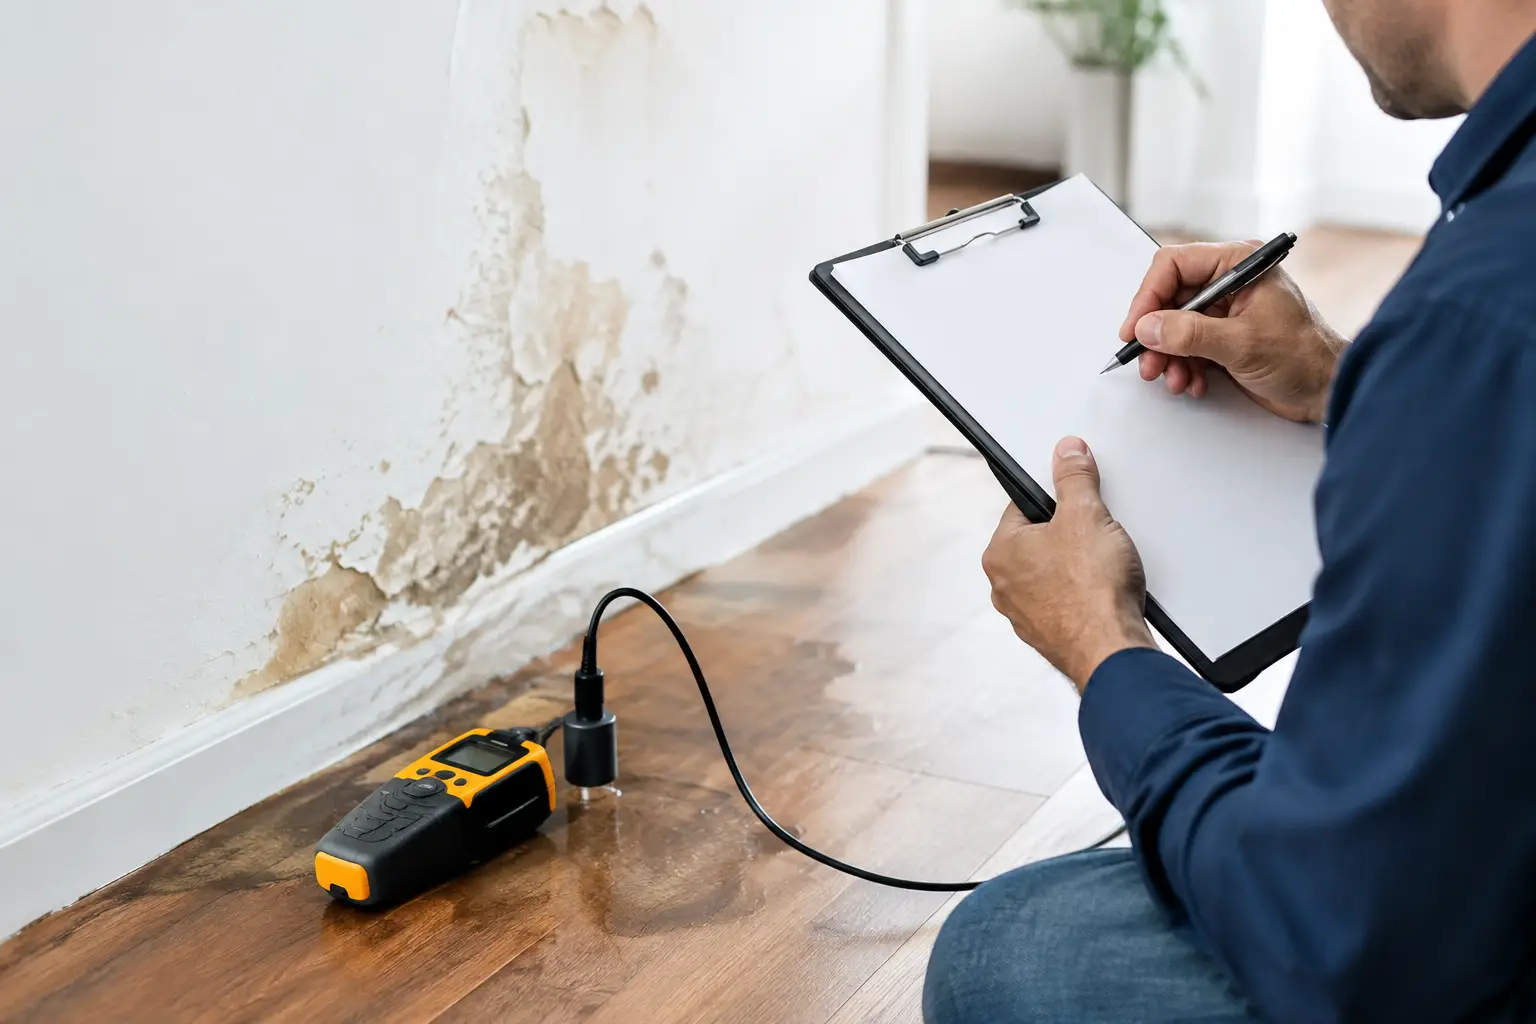
A water damage moisture log is not paperwork for the office. It is the field record that shows what was wet, how wet it was, what equipment was placed, and whether the structure actually dried. When the carrier, property manager, or customer asks why drying took four days instead of two, the answer should not live in a technician’s memory or a scattered text thread.
A good log makes the work visible. A weak one creates questions after the equipment is gone, the walls are closed, and the crew has moved to the next loss.
Why moisture logs fail in the field
Most failed logs do not fail because a technician cannot use a moisture meter. They fail because documentation gets pushed to the end of a long day. Readings are written on damp paper, photos stay on a personal phone, and someone tries to rebuild the story later from memory.
That gap matters. A single number without a location, material, date, and comparison point does not establish drying progress. “Bedroom wall: 18%” might mean something to the person who took it. It does not tell a reviewer whether the reading came from drywall, framing, trim, or a control area. It does not say whether 18% is moving toward dry standard or holding steady after 48 hours of equipment operation.
The other common problem is inconsistency between technicians. One person records moisture content. Another records a meter scale. A third writes “dry” with no reading at all. The job may have been performed correctly, but the record does not prove it.
No typing in wet boots should not mean no documentation. It means the record has to fit the work as it happens.
What to include in a water damage moisture log
A useful moisture log tells the drying story from the initial assessment through final verification. It should be simple enough to complete in an occupied home, a commercial facility, or a crawlspace, yet complete enough to withstand a file review.
Start with the job conditions
Every entry needs the basic context: job name or claim number, address or unit, date and time, technician, and affected area. Note the source category and whether the source has been stopped. Document the material being tested and the instrument used when that detail is required by your company or carrier process.
Environmental conditions belong in the same record. Record temperature and relative humidity for affected areas, along with grains per pound or other psychrometric information your drying protocol uses. These readings explain the environment around the material readings. If relative humidity spikes because doors were left open during tenant access or because a storm moved through, the log should show it.
Control readings are just as useful. A reading from known dry, unaffected material gives the team a practical target. Without a control, “dry” can become a judgment call. With a control, the final record can show that the affected baseboard, framing, or drywall returned to an acceptable condition comparable to unaffected material.
Identify exact locations, not just rooms
“Kitchen” is not a location standard. The log should identify where the reading came from: kitchen sink base cabinet toe kick, east wall drywall at 24 inches, subfloor below dishwasher, or exterior wall framing beside the window.
Use consistent naming from visit to visit. If the first technician records “master bedroom north wall” and the next writes “primary room by bed,” comparison becomes guesswork. Photos help, especially when they show a tape measure, room identifier, or marker. But the written location must stand on its own when someone reviews the file months later.
For large losses, establish a grid or numbering system on day one. That takes a little more discipline at the start, but it prevents confusion when several technicians are collecting readings across multiple rooms and floors.
Record the reading and the trend
The log should capture the actual reading, the type of reading, and the material tested. For example, wood moisture content and a relative moisture scale are not interchangeable. If your meter is set to a material scale, make that clear.
Just as important, show the trend. A water damage moisture log works because it connects readings over time. Day-one wet drywall at a high relative reading, day-two reduction after air movement and dehumidification, and final dry verification create a defensible sequence. A final “dry” entry with no earlier readings does not.
Do not hide a stalled area. If a reading rises, stays elevated, or fails to respond, document it and record what changed. Maybe insulation was discovered behind the wall. Maybe the crew removed a cabinet toe kick, added dehumidification, or recommended controlled demolition. A record of the problem and the corrective action shows active management, not failure.
Tie equipment to the readings
Moisture readings show conditions. Equipment logs show what the crew did about them. These records should work together.
Document the equipment type, quantity, placement area, and operating status. If an air mover was moved from a hallway to a wet closet, note it. If a dehumidifier was not running because a breaker tripped, note that too, along with the correction. Equipment counts that never change may be correct, but they can also make a file look copied forward.
This is where the jobsite reality matters. Equipment gets unplugged by tenants. Extension cords get moved. A facility manager may restrict access to a room. Those are not excuses to leave gaps in the record. They are facts that explain drying conditions and protect the team from later disputes.
A field workflow that crews will actually use
The best format depends on the size of the operation, carrier requirements, and how often supervisors review files. Paper can work for a small crew, but it often creates a second task: somebody still has to scan, type, sort, and match photos to the right day.
A digital form can solve some of that, but only if it does not turn technicians into data-entry clerks. If the workflow requires tapping through a long form while carrying a meter, taking photos, and working around occupants, the log will get completed late or not at all.
A better field process is straightforward: take the reading, state the location and condition out loud, capture the supporting photo, review the generated entry, and submit it before leaving the area. The technician remains responsible for the final record. The system simply removes the late-night rewrite.
ByldGo supports that speak-review-submit workflow by combining spoken updates with photos, readings, equipment details, timestamps, and locations in one accountable record. For bilingual crews, capturing updates in English or Spanish can also reduce the gap between the person doing the work and the person preparing the file.
Make daily logs useful to the next person
A moisture log is not only for an adjuster. It is a handoff tool. The technician on tomorrow’s visit should be able to see where moisture remains, what equipment is operating, what access issues exist, and what needs attention next.
Write observations that lead to action. “Wall still wet” is weak. “East wall framing at 22% moisture content, down from 31%; insulation removed; continue dehumidification and recheck tomorrow” gives the next technician a clear starting point.
Keep estimates, recommendations, and authorization issues separate from measured facts. If the customer declines removal of wet flooring, record the measured condition, the recommendation, who was informed, and the response. Do not blur a disputed decision into a vague note. Clean documentation protects the customer, the property, and the restoration company.
Final dry verification is where the record earns its value
The final visit should not be a rushed equipment pickup. Recheck the documented affected areas, compare them to controls, capture final environmental conditions, and confirm equipment removal. If materials are ready for repair, state that based on the measurements and your established drying criteria.
There are exceptions. Some materials may be intentionally removed before drying is complete. Some areas may remain inaccessible, or a property owner may halt work. Record those conditions plainly. A defensible file does not pretend every loss follows a perfect path.
When the record is complete, the closeout becomes easier. The office does not have to chase technicians for missing numbers. The manager can review the drying progression without sorting through camera rolls. The customer gets a clear explanation of what happened in their property.
Field documentation should do more than satisfy a checklist. It should let your crew prove the work while the evidence is still in front of them.
Leave a Reply